Category Archives: Making things

Timelines

Timeline thumbnail

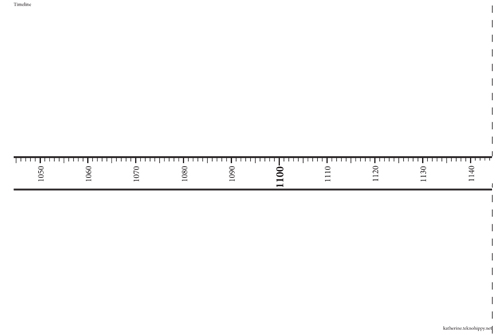
Simple Timeline

Here’s a simple timeline to print out and write on.

Covering 1050-2040.
Add your own notes and pictures above and below the timeline.
Use horizontally or vertically.
Cut along dashed line and stick to the next sheet for one continuous timeline, or print individual pages to cover a shorter period.
This one covers 100 years per A4 sheet.
Turn of the century in the middle – handy for English history from just before the Norman conquest to today.

Download - Timeline1050-2040.pdf

Monarch timeline 1050-2040_Page_07Monarchs and family tree Timeline

Covering 1050-2040.
Includes each English Monarch in the form of a family tree.
Add your own notes and pictures below the timeline.
Use horizontally or vertically.
Cut along dashed line and stick to the next sheet for one continuous timeline, or print individual pages to cover a shorter period.
This one covers 100 years per A4 sheet.
Turn of the century in the middle – handy for English history from just before the Norman conquest to today.

Download - Monarch timeline 1050-2040.pdf


Land Art

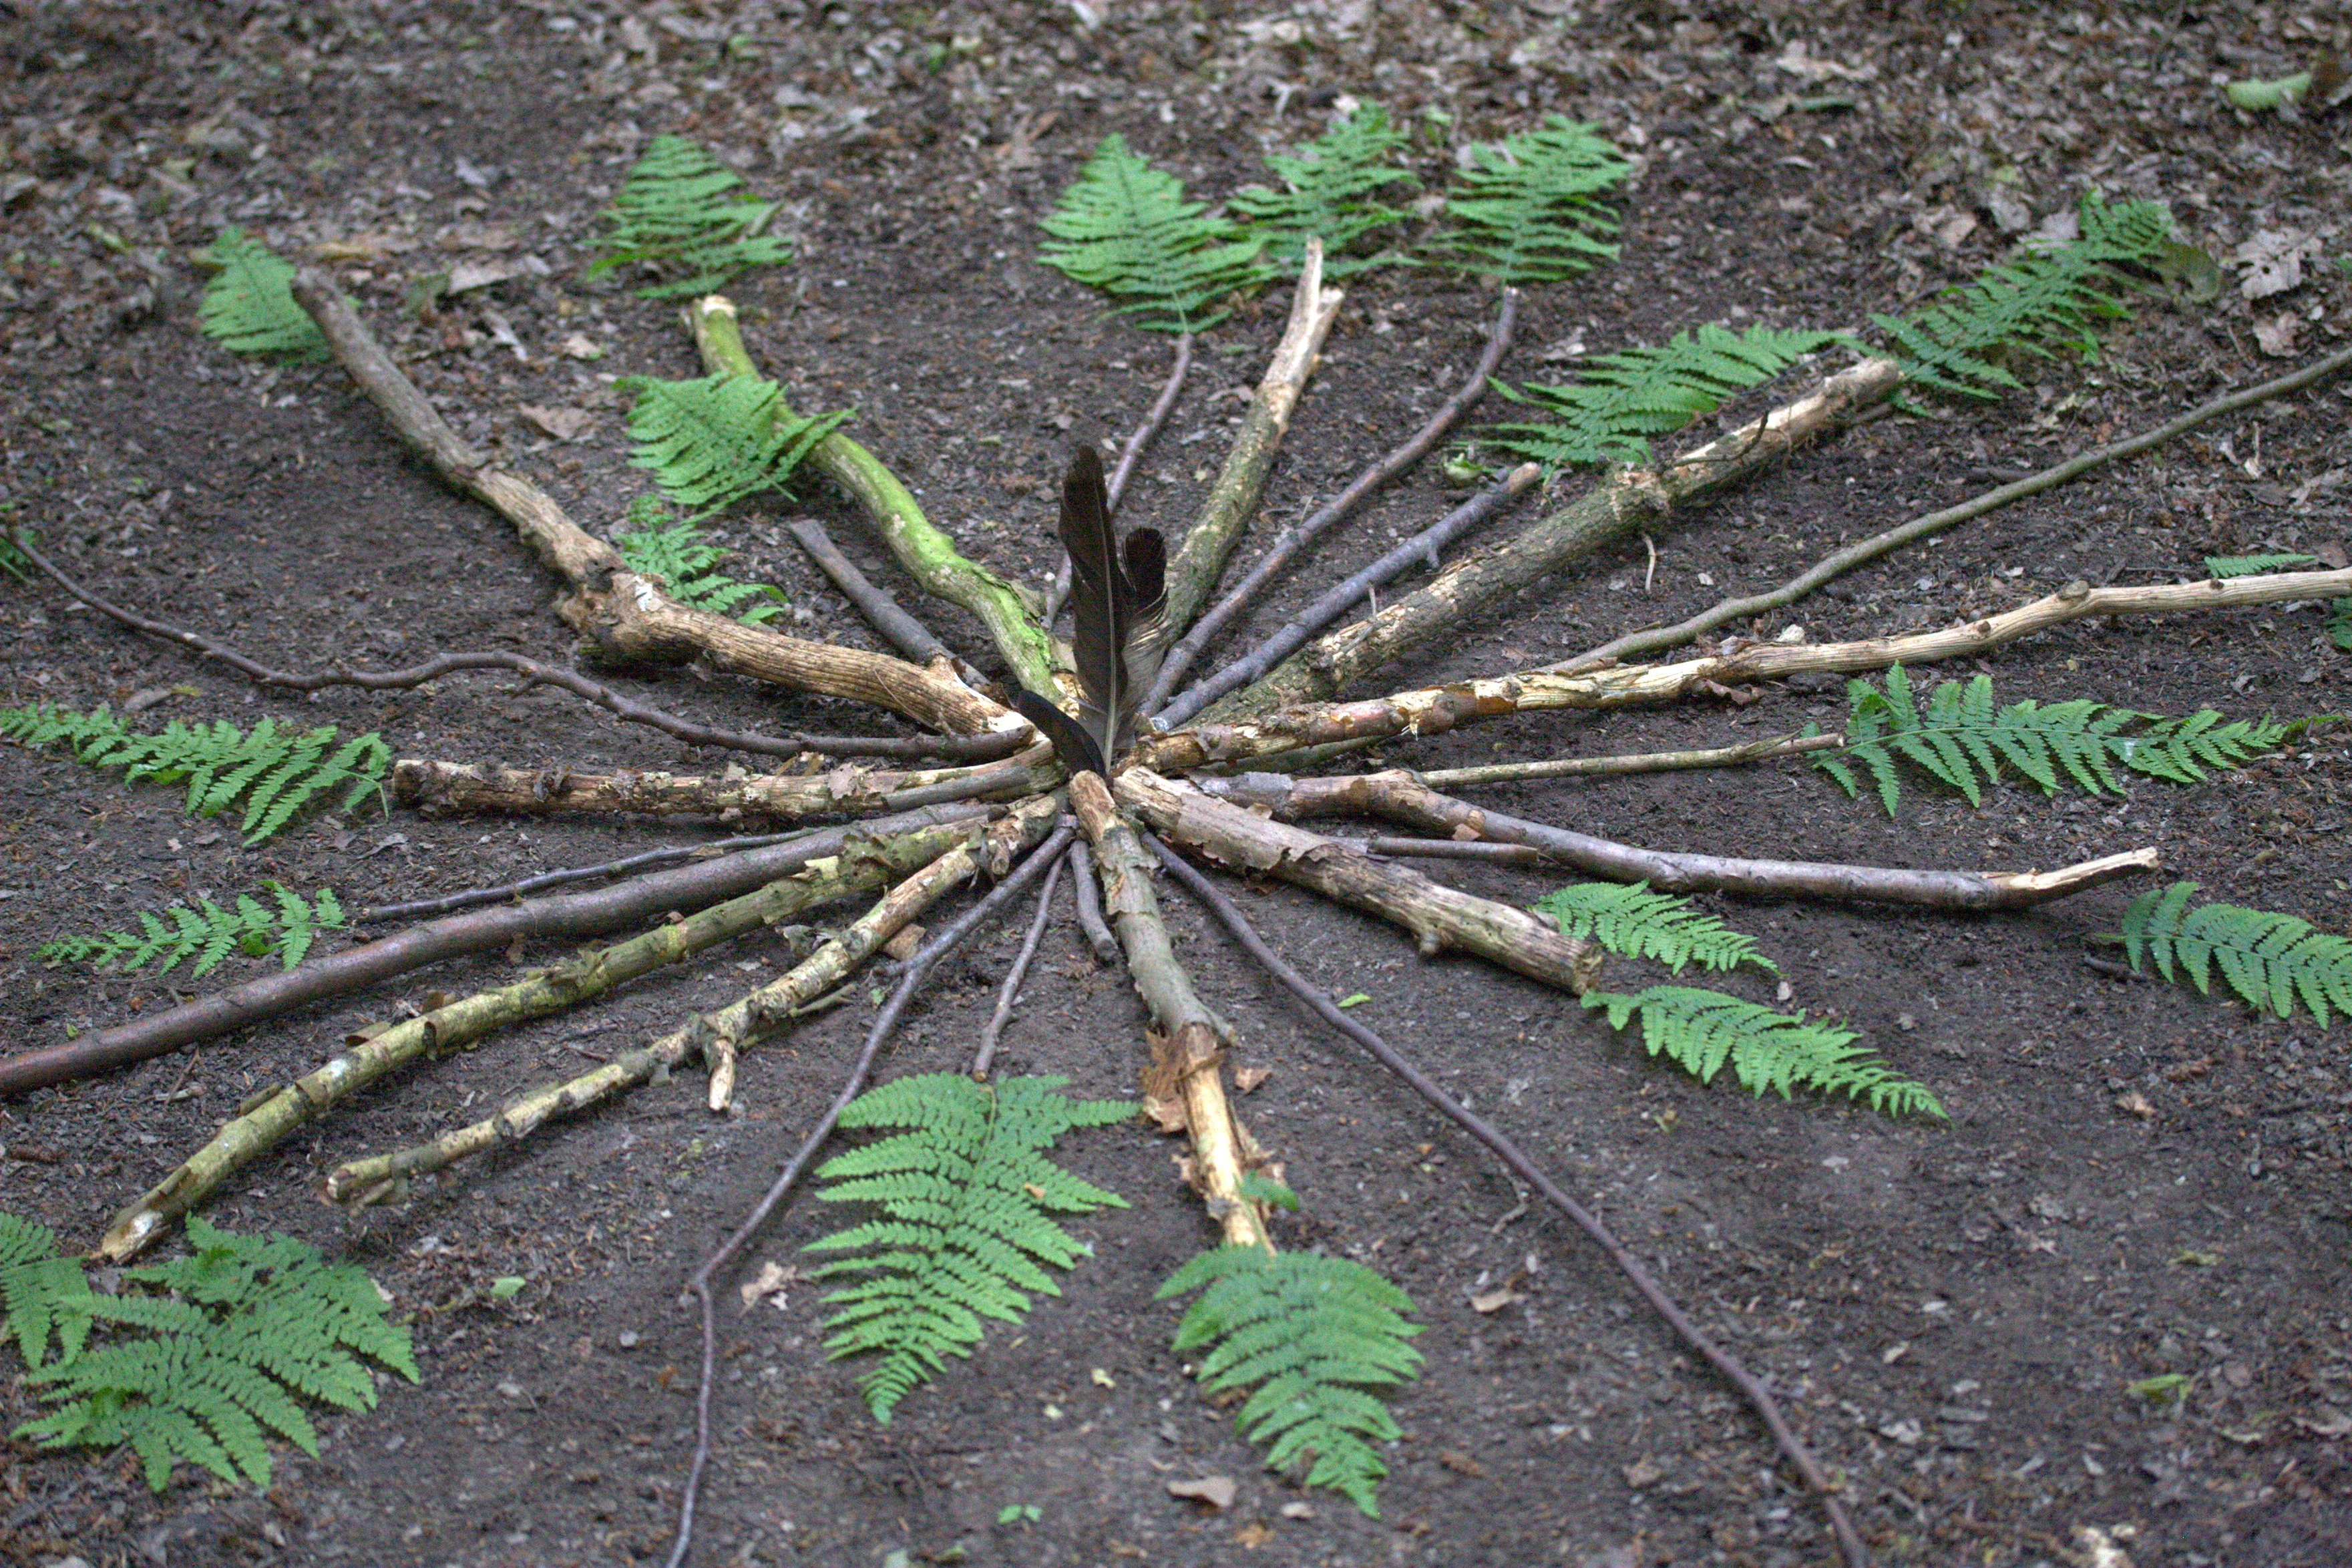
One of the most satisfying outdoor activities we have enjoyed has been Land Art. Creating art from natural materials.
For my youngest it seems to be an instinctive process – to take materials from the natural world around her and create beautiful things and arrangements with them. One of the joys of land art is that it can be used to get out and celebrate nature even in the depths of winter. The seasons all add their own materials and backdrops. Autumn with its beautiful colours and a cornucopia of leaves is a particular favourite.

We have also run and taken part in formal land art sessions.

I like to have a camera to capture the results. Other than that all you need is yourselves!

  1. Find a place to explore. It could be a piece of pavement outside your house, the garden, the park, the beach or the woods.
  2. Take a good look around. What can you see? Explore the colours, shapes and textures.
  3. Start collecting – What can you find? It could be anything from stones, to leaves, to grass.
  4. Create some art. Young children especially often excel at taking found objects and arranging them in a way that is meaningful to them. Every piece of land art will be different. You can make animals, patterns, circles, spirals, even life-size outlines of you and your friends. Write words.

Land Art Worksheet

Examples:

Links:

http://landartforkids.com/. Great site which simply introduces ideas and steps for creating land art.

Some of Our Land Art

[pe2-image src=”http://lh3.ggpht.com/-tb92m2_tXy8/URdfYIavPlI/AAAAAAAAIhU/q6L1GqJjM8Y/s144-c-o/20130126_184843.jpg” href=”https://picasaweb.google.com/115726803153382996794/IceCrystalsAtNightInGarden#5843243909717638738″ caption=”Ice sculpture in garden” type=”image” alt=”20130126_184843.jpg” ]

[pe2-image src=”http://lh4.ggpht.com/-r3sh-sFqiuQ/T-gemGaPZsI/AAAAAAAAEQo/zjc6A1iOEn8/s144-c-o/IMAG0696.jpg” href=”https://picasaweb.google.com/115726803153382996794/LandArtJune2012?authkey=Gv1sRgCLn80qL1v5jn6AE#5757885763497715394″ caption=”” type=”image” alt=”IMAG0696.jpg” ]

 [pe2-image src=”http://lh3.ggpht.com/-K5aRvE-r4vU/Umd8g1G8Z4I/AAAAAAAAVUk/9Auilj9izZM/s144-c-o/_MG_9541.jpg” href=”https://picasaweb.google.com/115726803153382996794/LandArt#5937851537165150082″ caption=”” type=”image” alt=”_MG_9541.jpg” ] [pe2-image src=”http://lh6.ggpht.com/-ChbmJ36V8BQ/Umd8mMAusFI/AAAAAAAAVUs/NxpHUjhJmJ0/s144-c-o/_MG_9509.jpg” href=”https://picasaweb.google.com/115726803153382996794/LandArt#5937851629212446802″ caption=”” type=”image” alt=”_MG_9509.jpg” ] [pe2-image src=”http://lh4.ggpht.com/-3vgss9u_ybQ/Umd8v-jFIiI/AAAAAAAAVU0/4ZCS-91zq58/s144-c-o/_MG_9465.jpg” href=”https://picasaweb.google.com/115726803153382996794/LandArt#5937851797397119522″ caption=”” type=”image” alt=”_MG_9465.jpg” ]

Land art

We went down to the woods today and made … art!

One of the most satisfying outdoor activities we have enjoyed has been Land Art. Creating art and sculptures from natural materials you find in a particular place, such as leaves, fir cones, twigs, pebbles, rocks, sand and shells. Many only last a short time.

For my youngest it seems to be an instinctive process – to take materials from the natural world around her and create beautiful things and arrangements with them. One of the joys of land art is that it can be used to get out and celebrate nature even in the depths of winter. The seasons all add their own materials and backdrops. Autumn with its beautiful colours and a cornucopia of leaves is a particular favourite.

We have also run and taken part in formal land art sessions.

I like to have a camera to capture the results. Other than that all you need is yourselves!

  1. Find a place to explore. It could be a piece of pavement outside your house, the garden, the park, the beach or the woods.
  2. Take a good look around. What can you see? Explore the colours, shapes and textures.
  3. Start collecting – What can you find? It could be anything from stones, to leaves, to grass.
  4. Create some art. Young children especially often excel at taking found objects and arranging them in a way that is meaningful to them. Every piece of land art will be different.

You can make animals, patterns, circles, spirals, even life-size outlines of you and your friends. Or write words.

Examples include Andy Goldworthy who uses materials he finds with no tools! Richard Shilling has a website on Land Art for Kids, with lots of examples and advice on how to run a land art session

Land Art Worksheet

Advent calendars

Some online advent calendars.
Activity village – colour in page and an activity a day.
Nature Detectives – a nature activity a day in the countdown to Christmas.
CBeebies – a CBeebies surprise each day for the little ones.
CBBC – and something for the little bit older.
Tate Kids – Children’s favourites from Tate Kids Collection and a chance to win a prize.

Top ten ideas for things to do with photos

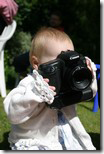
image In the age of digital cameras it is so easy to take lots of photos, but never see them again as they hide away on your computer hard drive. This is even more so as parents—the urge to capture our children on camera can lead to thousands of pictures that we seldom look at.

So here are some ideas on how to make the most of your photos and ensure that you and everyone else gets to see and appreciate them. Alternatively go to a professional studio that will let you buy the photos from your session and use those.

1. Print them online
Upload your photos and order prints at one of the many photo-printing sites and get your prints delivered to you in the post.

2. Share them online
Upload your photos to a photo-sharing site and you can invite friends and families to see them or share them publically with the community on the website to get feedback on your photography.
Some sites do slideshows or online montages too.

3. Display them in a digital frame
Upload photos onto a digital photo frame and you get an ever changing image to look at. Quality of frames vary so you’ll need to do some research first to get the best frame for your money.

4. Give photo gifts
You can get your photos on to a wide range of gifts, in high street or online photo-printing stores, or charity shops.

5. Frame them and hang them
And don’t forget the traditional—get your prints enlarged and framed, and fill up those picture frames with snap shots of your loved ones.

6. Get arty with a canvas
Get your photos printed onto canvas for maximum impact. Maybe with special effects to make it look like pop art or an oil painting. Or how about a trendy acrylic print—with your photo appearing to float inside a sandwich of acrylic.

7. Scrapbook them
Combine your photos, with stories, patterned papers and embellishments to create a scrapbook. Get started with scrapbook kits available for high street and craft stores.

8. Create your own postage stamps
Pick your favourite photo and turn it into a Smilers® postage stamp at Royalmail.com. Gives the personal touch to your letters and invitations.

9. Get the children involved
Kids love photos too. Create their very own book of photos of family and favourite things. Either make your own or use the Whoozit photo album from nctsales.co.uk. For older children cut out photos and
stick them to lollipop sticks for your own personalised puppets.

10. Create a Photobook of memories
Create a glossy book of photos online at one of the photo printing websites to mark the year, or to mark special occasions.

A few of our favourite websites

Flickr.com — Store and share your photos
Nctsales.co.uk— Raise money for the NCT with photo gifts
Picasa.google.com — Software and website. Organise, edit, store,
and share photos
Photobox.co.uk — Store, share, print and buy gifts
Fujicolor.com.au — Store, share, print and buy gifts in Australia