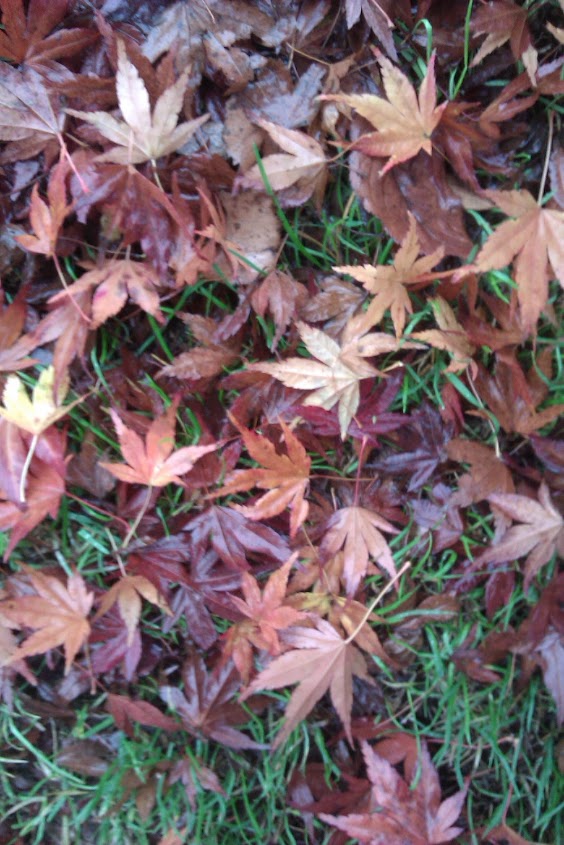
We went down to the woods today and made … art!
One of the most satisfying outdoor activities we have enjoyed has been Land Art. Creating art and sculptures from natural materials you find in a particular place, such as leaves, fir cones, twigs, pebbles, rocks, sand and shells. Many only last a short time.
For my youngest it seems to be an instinctive process – to take materials from the natural world around her and create beautiful things and arrangements with them. One of the joys of land art is that it can be used to get out and celebrate nature even in the depths of winter. The seasons all add their own materials and backdrops. Autumn with its beautiful colours and a cornucopia of leaves is a particular favourite.
We have also run and taken part in formal land art sessions.
I like to have a camera to capture the results. Other than that all you need is yourselves!
- Find a place to explore. It could be a piece of pavement outside your house, the garden, the park, the beach or the woods.
- Take a good look around. What can you see? Explore the colours, shapes and textures.
- Start collecting – What can you find? It could be anything from stones, to leaves, to grass.
- Create some art. Young children especially often excel at taking found objects and arranging them in a way that is meaningful to them. Every piece of land art will be different.
You can make animals, patterns, circles, spirals, even life-size outlines of you and your friends. Or write words.
Examples include Andy Goldworthy who uses materials he finds with no tools! Richard Shilling has a website on Land Art for Kids, with lots of examples and advice on how to run a land art session


Leave a Reply